


Making homemade ice cream is a fun and rewarding activity that allows you to enjoy creamy, flavorful ice cream without the artificial ingredients often found in store-bought versions. Plus, you can customize it with your favorite flavors and mix-ins! Whether you have an ice cream maker or not, making ice cream from scratch is easier than you think. Here’s a simple guide to making the perfect homemade ice cream in just 5 easy steps.
1. Choose Your Base: Custard or No-Cook?
The first step in making ice cream is deciding on your base. There are two main types of ice cream bases: custard-style (which requires cooking) and no-cook (which is quicker and easier). The custard base is rich and creamy, while the no-cook version is lighter and simpler.
Custard Base (Cooked):
- 2 cups heavy cream
- 1 cup whole milk
- 3/4 cup sugar
- 4 large egg yolks
- 1 tsp vanilla extract
No-Cook Base (Quick and Easy):
- 2 cups heavy cream
- 1 cup sweetened condensed milk
- 1 tsp vanilla extract
If you’re new to homemade ice cream, the no-cook base is the easiest and fastest route to go!
2. Mix the Ingredients Together
Now that you’ve chosen your base, it’s time to combine the ingredients.
For Custard Base:
- In a medium saucepan, heat the cream and milk over medium heat, stirring constantly, until it’s warm but not boiling (around 170°F or 75°C).
- In a separate bowl, whisk the egg yolks and sugar together until pale and slightly thickened.
- Gradually pour about a cup of the warm cream mixture into the egg mixture to temper the eggs (this prevents curdling). Stir constantly.
- Pour the egg mixture back into the saucepan with the remaining cream and milk.
- Cook the mixture over medium heat, stirring constantly until it thickens and coats the back of a spoon (about 10-12 minutes). Be careful not to let it boil!
- Once thickened, remove from heat and stir in the vanilla extract. Let it cool before chilling in the fridge for at least 2-4 hours.
For No-Cook Base:
- In a mixing bowl, combine the heavy cream, sweetened condensed milk, and vanilla extract.
- Whisk until smooth and fully incorporated. There’s no need to cook this base—simply mix and you’re ready for the next step!
3. Chill the Mixture
Chilling the ice cream mixture before churning is crucial for achieving the right texture and creaminess.
- For Custard Base: After the mixture cools down, cover it with plastic wrap or a lid and refrigerate for at least 2-4 hours, or preferably overnight. This helps the flavors develop and the mixture cools to the perfect temperature for churning.
- For No-Cook Base: Chill the mixture in the fridge for at least 2 hours to help it firm up and ensure the ice cream will churn properly.
4. Churn the Ice Cream
Now comes the fun part—churning the ice cream! If you have an ice cream maker, this step is easy.
- Pour the chilled mixture into your ice cream maker and follow the manufacturer’s instructions.
- Churn for 20-30 minutes until the ice cream reaches a soft-serve consistency.
No Ice Cream Maker? Don’t worry! You can still make ice cream. Simply pour the chilled mixture into a shallow container and place it in the freezer. Every 30 minutes, take it out and stir vigorously with a fork or whisk to break up ice crystals. Do this for about 3-4 hours until it’s frozen and creamy.
5. Add Mix-ins and Freeze
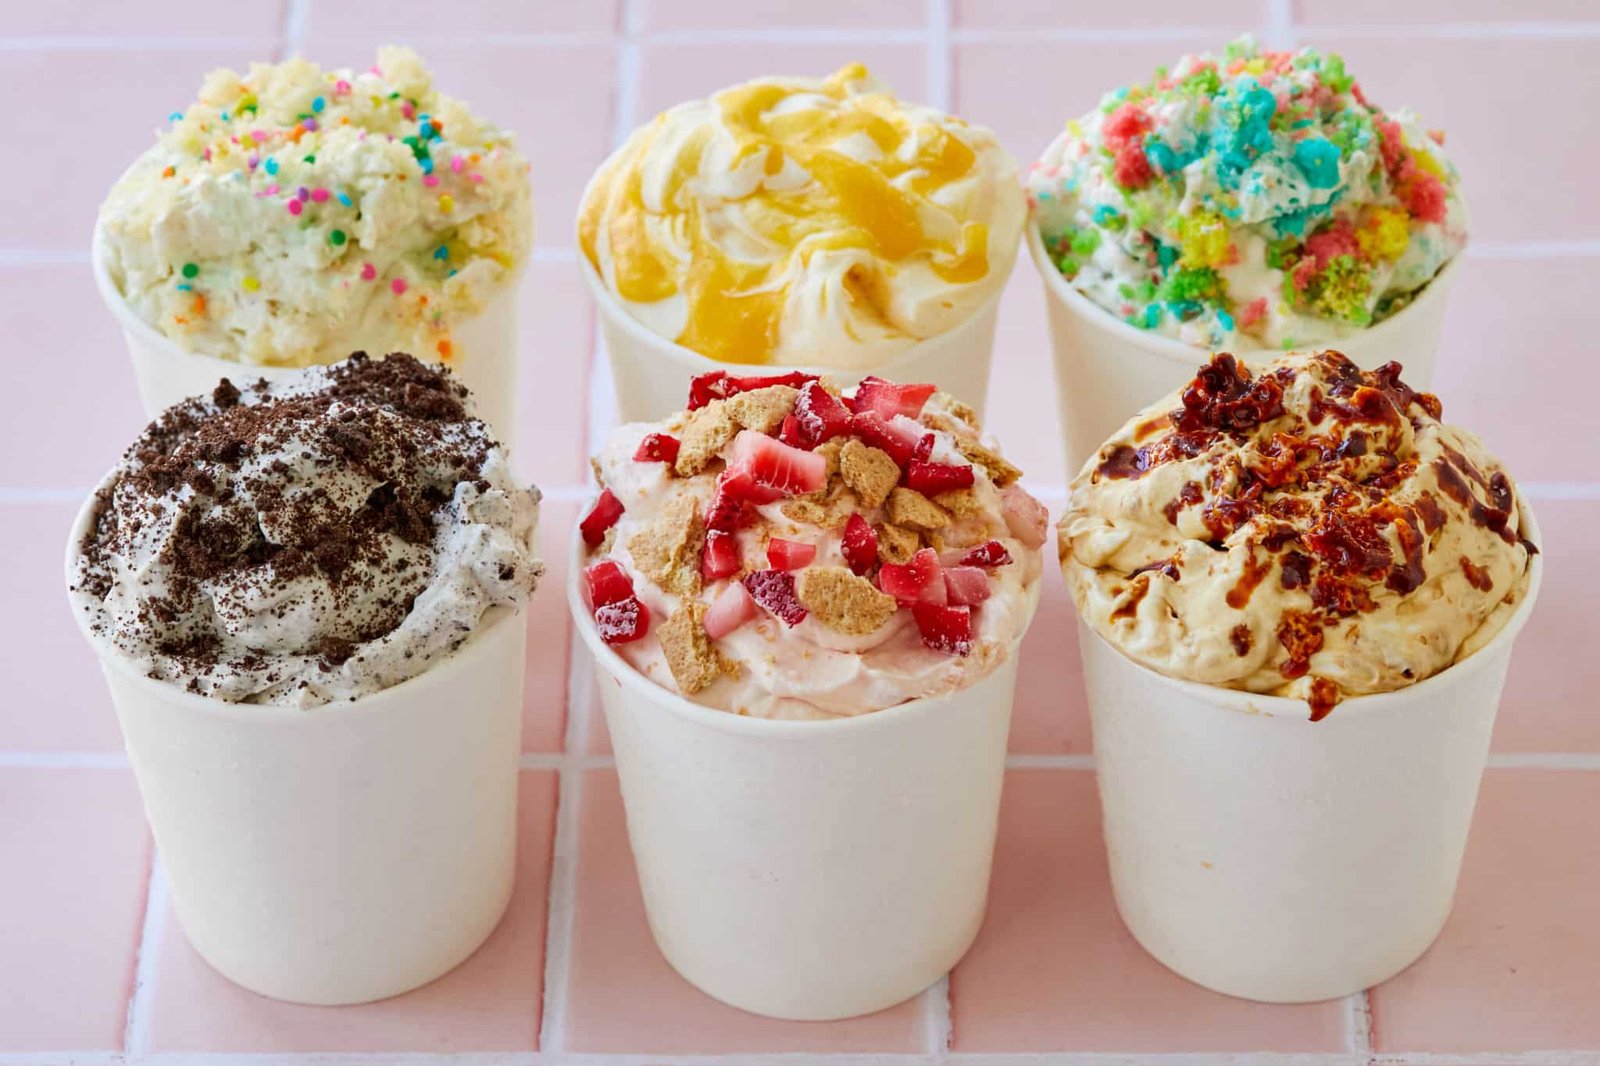
Once your ice cream reaches the desired consistency, it’s time to get creative! Add in your favorite mix-ins like chocolate chips, crushed cookies, fruit, or candy.
- Gently fold in your mix-ins with a spatula. Be sure not to overmix to keep the ice cream’s smooth texture.
- Transfer the ice cream to a freezer-safe container and smooth the top.
- Freeze for at least 2 hours (or overnight) to allow the ice cream to firm up completely.
Bonus Tips for Perfect Ice Cream:
- Flavor Variations: To make flavored ice cream, add ingredients like cocoa powder, fruit puree, or extract (e.g., almond or mint) to the base before chilling.
- Texture Tips: For extra creamy ice cream, use full-fat cream and milk. You can also add a tablespoon of vodka to prevent the ice cream from becoming too hard in the freezer.
- Mix-ins: Be creative with mix-ins like caramel swirls, nuts, sprinkles, or candies. Add them in the last 5 minutes of churning or gently fold them in after churning.
Conclusion
Making homemade ice cream is easier than you think, and the results are totally worth it. By following these 5 simple steps, you’ll create creamy, delicious ice cream with your own hands, ready to be customized with your favorite flavors and mix-ins. Whether you’re using a traditional ice cream maker or a no-cook method, homemade ice cream is the perfect treat to enjoy on a warm day—or any day you need something sweet!